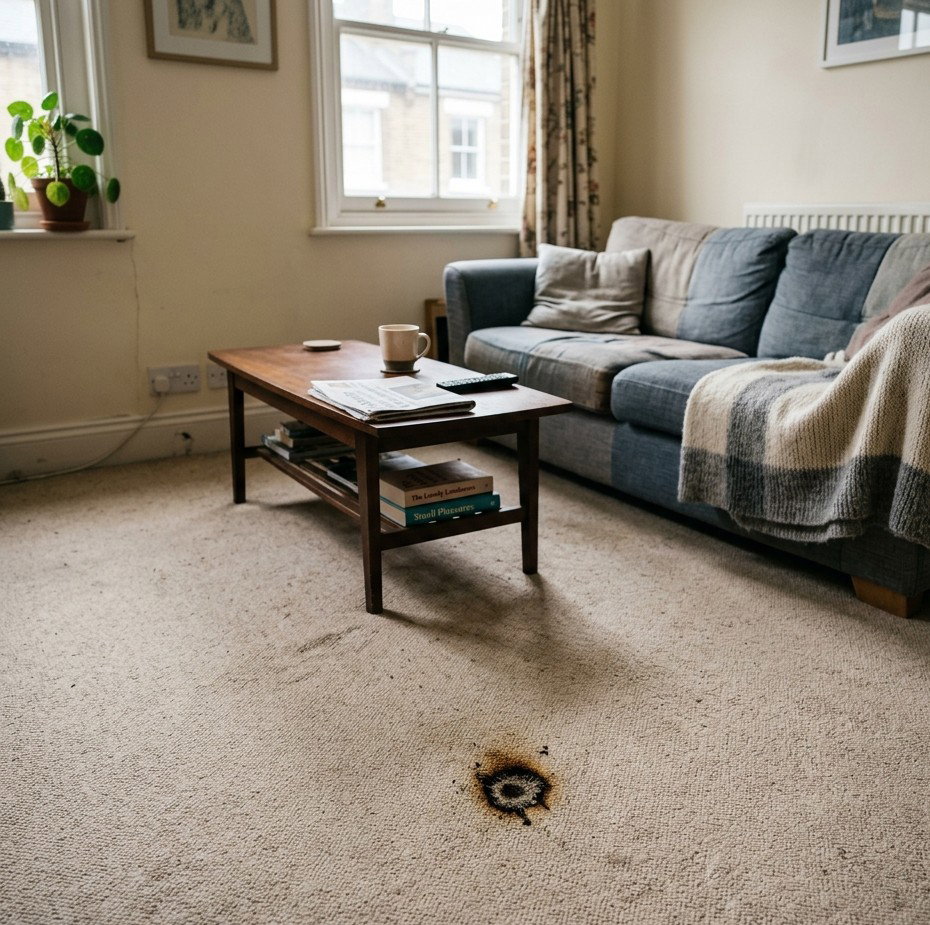
It takes less than a second. You set your hair straightener down just for a moment, or hold the hairdryer in one spot a fraction too long, and suddenly there it is – a dark, slightly singed patch on an otherwise perfectly clean carpet. That sinking feeling is familiar to a great many London households, from the Victorian terraces of Islington to the new-build flats of Greenwich. The good news is that not every carpet burn spells the end for your flooring. The outcome depends almost entirely on the type of damage, how quickly you act, and whether you take the right steps rather than the wrong ones.
Understanding the Damage – Burn vs. Scorch vs. Melt
Why the Type of Burn Changes Everything
Before reaching for any cleaning product or pair of scissors, take a moment to properly assess what you are actually dealing with. Carpet burn damage falls into three broad categories, and each one calls for a different approach.
A surface scorch is the mildest form. The fibres themselves are structurally intact, but heat has discoloured the tips, leaving a yellowed, darkened, or slightly crispy appearance. This type of damage is most common with hairdryers and tends to affect wool, cotton, or blended fibre carpets, which discolour under sustained heat before they begin to break down.
A partial melt is a step up in severity. Here, synthetic fibres – nylon, polyester, or polypropylene – have been exposed to enough heat to soften and fuse together, forming a hardened, flattened clump within the pile. Hair straighteners, which regularly reach between 180°C and 230°C, are a frequent culprit.
A deep burn is the most serious category, where heat has travelled through the pile and damaged or destroyed the carpet backing. These cases are rarely reversible through DIY means alone.
What You Will Need – Tools and Supplies
The Burn-Repair Kit You Probably Already Have
Most surface-level carpet burns can be addressed with items already found in the average home. You will need a pair of small, sharp scissors – nail scissors work particularly well – along with a fine-toothed comb or stiff-bristled brush, a clean white cloth, and a soft toothbrush. For cleaning solutions, mild washing-up liquid diluted in cold water is the natural starting point, with white vinegar diluted in water (roughly one part vinegar to two parts water) as a secondary option for lifting residual discolouration.
For more stubborn marks, a dry-cleaning solvent from most hardware shops can break down scorched residue without saturating the fibres. Carpet repair adhesive and a small piece of matching donor carpet – more on that shortly – round out the kit for anyone considering a patch repair.
Step-by-Step: How to Treat a Surface Scorch
Gentle Fixes for Minor Discolouration
Surface scorches are the most forgiving type of burn to deal with, provided you approach them methodically.
Start by using your small scissors to carefully trim away any darkened or crisped fibre tips. Work slowly and trim only the very ends – the goal is to remove the discoloured portion without visibly shortening the pile. Once trimmed, use a fine-toothed comb or stiff brush to lift the surrounding fibres back into their natural position.
Next, mix a small amount of mild washing-up liquid with cold water and apply it to the area using a clean white cloth, working from the outer edge of the mark inward. This technique – always outside to inside – prevents the discolouration from spreading into the surrounding pile. Blot firmly but gently; never scrub.
If discolouration remains after the area has dried, a diluted white vinegar solution applied in the same manner can help lift the residual yellowing.
One important precaution: always test any cleaning solution on a hidden patch of carpet first – inside a wardrobe or under a piece of furniture – before applying it to the visible damage. Light-coloured and natural fibre carpets, both common in London period properties, can react unexpectedly even to mild solutions.
Step-by-Step: How to Treat a Melted or Fused Patch
When the Fibres Have Changed Shape
A melted patch requires a more realistic mindset from the outset. Once synthetic carpet fibres have melted and resolidified, they cannot be restored – the goal shifts from reversal to minimisation, reducing the visibility of the damage as much as possible.
Begin by using small scissors to remove the fused clump of fibres, cutting as close to the base as you can manage without touching the carpet backing. Work in small increments rather than attempting to remove the whole mass at once. The resulting thinned area will be noticeable up close, but the aim is to eliminate the hard, shiny, melted material that draws the eye.
Once the fused matter is removed, gently tease the surrounding pile fibres inward over the thinned area using a soft toothbrush or fine comb. A slightly damp cloth combined with a brief pass of a hairdryer set to a cool or low-heat setting – yes, the same type of tool that may have caused the problem – can help relax the surrounding fibres and encourage them to lie naturally over the affected spot.
On plain-coloured, short-pile carpet this approach can produce a surprisingly discreet result. On textured, patterned, or longer-pile carpets, the limitations of DIY become considerably more apparent.
The Patch Repair Option – When DIY Has a Limit
Donor Carpet and the Art of the Invisible Repair
When trimming and cleaning are not enough, patch repair is the next logical step – and for burns larger than a couple of centimetres, it is often the most practical DIY solution available.
The principle is straightforward: cut out the damaged area and replace it with a matching piece of carpet taken from an inconspicuous spot in the same room. Common donor locations include inside a built-in wardrobe, the strip running behind a door, or any section permanently concealed beneath heavy furniture.
Using a sharp craft knife and a metal ruler, cut a neat square or rectangle around the damaged area, then cut an identical shape from your donor carpet. Pay careful attention to pile direction throughout – a misaligned pile is the single most common reason a patch repair remains visible under normal lighting. Secure the new piece in place with double-sided carpet tape or carpet adhesive applied to the backing.
On short-pile and loop-pile carpets with a plain or simple pattern, a well-executed patch can be virtually undetectable. On cut-pile, deep-pile, or strongly patterned carpets, the result is considerably more variable.
What NOT to Do – Common Mistakes That Make It Worse
The Errors That Turn a Fixable Burn Into a Bigger Problem
A surprising amount of carpet burn damage is made worse by well-intentioned but misguided first responses. These are the most important mistakes to avoid.
Scrubbing the burn aggressively is perhaps the most common error. Rubbing spreads discolouration into the surrounding fibres and can permanently distort the pile direction, creating a larger visible problem than the original mark.
Applying bleach or strong chemical cleaners is another frequent mistake, particularly on synthetic carpets. Bleach does not clean scorched carpet fibres – it strips colour from them, leaving a pale, washed-out patch that is often far more conspicuous than the original burn ever was.
Saturating the area with water may feel thorough, but excessive moisture can penetrate through to the carpet backing and the underlay, creating conditions for mould growth beneath the surface. This is a particular concern in London’s older housing stock, where many properties have solid floors or suspended timber subfloors without an effective moisture barrier.
Finally, attempting to use heat to smooth out a scorch or melt will always make things worse. The damage is already heat-related, and applying more of it only extends the problem.
When to Call a Professional Carpet Cleaner
Knowing When the Damage Is Beyond a Home Fix
Some carpet burns are simply beyond what home remedies can adequately address, and recognising that point early saves both money and further damage to the flooring.
Professional intervention is the sensible route when the burn is larger than two to three centimetres, when the damage has reached the carpet backing, or when the carpet in question is a high-value natural fibre such as wool, Axminster, or Wilton. These materials are unforgiving of amateur repairs and costly to replace unnecessarily.
It is equally worth calling in a professional when a rented property is involved. Tenancy agreements across Greater London increasingly contain detailed carpet condition clauses, and a professionally completed repair – or a formal written assessment confirming pre-existing damage – can make a meaningful difference in a deposit dispute.
Importantly, the earlier professional help is sought, the better the likely outcome. Repair technicians work with matched fibre stocks, heat-transfer bonding tools, and specialist adhesives unavailable to the general consumer. Multiple failed DIY attempts before calling for help also reduce the chance of achieving a truly invisible repair.
Prevention – Protecting Your Carpet Going Forward
Simple Habits That Save Expensive Repairs
The most effective carpet burn is the one that never happens. A handful of simple habits significantly reduce the risk of a repeat incident.
Always use a heat-resistant styling mat when using straighteners or curling tongs – these are inexpensive, widely available, and take up almost no space in a bathroom or bedroom. Make a firm rule never to rest a straightener directly on the floor, even for a moment. With hairdryers, keep the device moving rather than directing sustained heat at a single spot, and avoid placing it face-down on any surface while it is still warm.
For households where accidents are more likely – busy families, small bathrooms that spill into carpeted bedrooms, or homes with young children – keeping a small offcut of matching carpet stored away is a worthwhile precaution. Should a future repair be needed, that donor piece will prove invaluable.